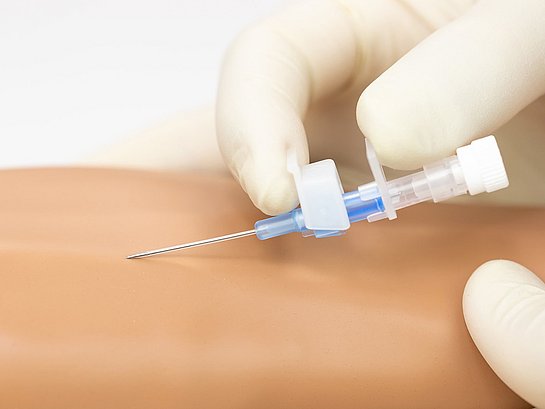
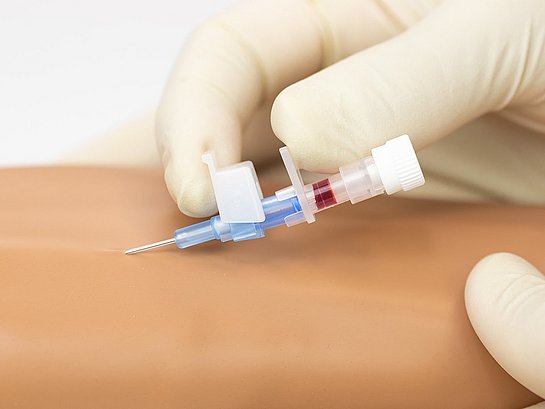
CLIP® WINGED

CLiP® Winged is an automatic safety IV catheter available in a comprehensive range to meet demanding physical conditions and different clinical needs. The products have been developed with the user and patient in mind - configured to provide excellent insertion properties. When patients and their conditions vary, CLiP® Winged remains consistent and its use contributes to safe and successful insertion.

Advantages at a glance:

  • Automatic safety mechanism to prevent needlestick injuries
  • Suitable for high pressure injection up to 305 psi
  • Blood sampling as indication for use
  • Wing holder for multiple gripping alternatives
  • Stabilization wings for secure fixation
  • Small environmental footprint thanks to its compact product and packaging design

CLiP® Winged IV catheter free online training

Do you want to learn more about CLiP® Winged? We offer free online training for up-to-date clinical knowledge on CLiP® automatic safety IV catheters. Go to our E-learning Portal, select your preferred course and start your training today!

User Guide: CLiP® Winged

Step 1

Carefully select and aseptically prepare the site.

Step 2

Remove the needle cover and make sure the needle and the catheter tip are properly aligned.

Step 3

Perform veinpuncture.

Step 4

Observe first flashback (blood response) in the flashback chamber. For 24 gauge the flashback appears along the catheter length.

Step 5

Lower the insertion angle, advance 1-2 mm and ensure the catheter tip is in the vein by second flashback (blood response) along the catheter length (14-22 Gauge).

Step 6

Advance further, hold the catheter hub for stabilization and compress the vein above the tip of the catheter. Withdraw the needle completely. Always pull the needle straight back and confirm safety clip activation.

Step 7

Discard the needle in an approved sharps container.

Step 8

Connect a Luer connector, cap or IV infusion line.

Step 9

Remove the wing holder and fold out the wings for stable fixation.

Step 10

Secure the IV catheter to ensure a clear fluid path and flush the catheter according to local protocol.

Step 11

Cover the insertion site with a sterile dressing.

Productlist

CLiP® Ported
Flyer / PDF, 355 KB
CLiP® Neo
Flyer / PDF, 349 KB
CLiP® automatic Safety IV Catheters
IFU Instructions for Use / PDF, 513 KB
CLiP® Winged
Flyer / PDF, 337 KB
CLiP® Neo, Winged & Ported
Brochure / PDF, 915 KB
It's the simplest way to know everything. We'd love to get in touch.